PhotobucketPhotobucketPhotobucket

Wednesday, September 29, 2010

Wish List

Does anyone else have a Wish List? I know I do, and it grows daily. Lately, I have had my eye on two items that I can't have...YET.

First, a. Lately, I have been making clothes for my daughter, and this bad boy Serger would make things easier and cleaner. I know I won't be getting this anytime soon, due to my recent purchase of my wonderful sewing machine, but a girl can always dream.


I have also just received an email from Adobe, announcing their new Photo Shop Elements 9, for Mac. As a digital scrapper, this makes me drool. I am currently using PSE 6 and somethings just drive me crazy. I tried out PSE 8 and really loved the improvements. I was going to purchase PSE 8, but decided to save the money for my sewing machine. Glad I did! Looks like I'm going to be test driving this soon.

Anything out there that you are wishing hard for?


Monday, September 27, 2010

Completed Quilt Top

I finished the Quilt Top I have been working on. It is quite large, which is going to make an excellent lap quilt and picnic quilt. I am eager to finish it, but I still haven't decided on the fabric for the binding and the back. Any suggestions?


My To Do List is growing and growing. I am so excited about all of my upcoming projects. I will leave you with a glimpse at an upcoming post. Can you guess what I will be doing with these supplies?


Hope you are all having a Happy Monday!

GiveAway at V and Co.

If you liked my camera strap from a previous post, then you should definitely check out the GiveAway at V and Co. They are giving away a *Shey* [B] camera strap that is gorgeous.  You have three chances to enter, and I highly suggest doing so. You never know, you could be the lucky winner!

Wednesday, September 22, 2010

Work In Progress (WIP) Wednesday

I am working on a new quilt top. It is based on the quilt along over at Fat Quarterly. I changed a few things up to make it a bit bigger and more my taste. So far I have everything cut and the white blocks completed. I usually like to start and finish projects quickly, but I am enjoying spacing this one out. It gives me a chance to take breaks and work on other projects when I need a change. (Oh, I am using the Botany Jelly Roll from Moda.)


I'm sure you can see in the photos, but I am a bit of an organized crafter. I love drawing out my quilt plans on graph paper. I also love binders. I have several for all my crafts and home needs. I really think I am a bit obsessive with the organization sometimes, at least I know my husband thinks so! 

Tuesday, September 21, 2010

Fall

I really love Fall. It is definitely my favorite season. I just wish the weather would cooperate and bring us some fall weather. I want that crispness in the air and the leaves to change colors. I am hoping that some of the projects I completed today will act as a sort of Fall rain dance.

So what Fall inspired project did I work on today? A wreath, of course. One can't have a front door without a seasonal wreath, at least this one can't. I found a great tutorial for my wreath here. It is so different from my usual wreath; no FLORAL. I love it. What do you think?


The tutorial was super easy to follow. I decided to add the Chipboard letters, that are covered with autumn scrapbook paper and modge podge. The picture doesn't do them justice. They aren't white. I really love the simplicity of this wreath. I also love anything with ruffles! 

In addition to the wreath I made some simple, Fall picture frames. They are just waiting for pictures. I think I will put in last years halloween and pumpkin patch pictures, and then change them out each year. I plan to dress up the mantel with other Fall decorations. 


Here's hoping my rain dance works!

Sunday, September 12, 2010

Blog Makeover

I have had a very long night of making over this blog. I usually use pre-made templates from sites such as My Style Backgrounds, but I really wanted something more unique, more me. So I set off on the very annoying journey of blog design. 

It has taken me about 5 hours to get what I have so far. Designing was the easy part. I used the same concept I use for Digital Scrapbooking. I used a clip art kit from Jessica Weible of JWIllistrations. I then used coordinating colors to get a simple, but pretty theme. 

My big issues arise when trying to implement my designs into my blog. I consider myself more than a computer novice, but I don't know jack about HTML codes and what not. There are so many helpful tutorials on the internet. Actually, there are just too many it was hard to make sense of it all. I ended up having to use trial and error, with lots and lots of error. Not to worry, I have documented everything that has worked for me so far. Just in case I decide to do this again, or if any of my blogging friends need help. 

I am pretty happy with the overall design so far. I may tweak some things here and there, but NOT tonight. I would love to know what you think! Leave some love in the comments!


Weekend Project

I have had some dress tutorials from 
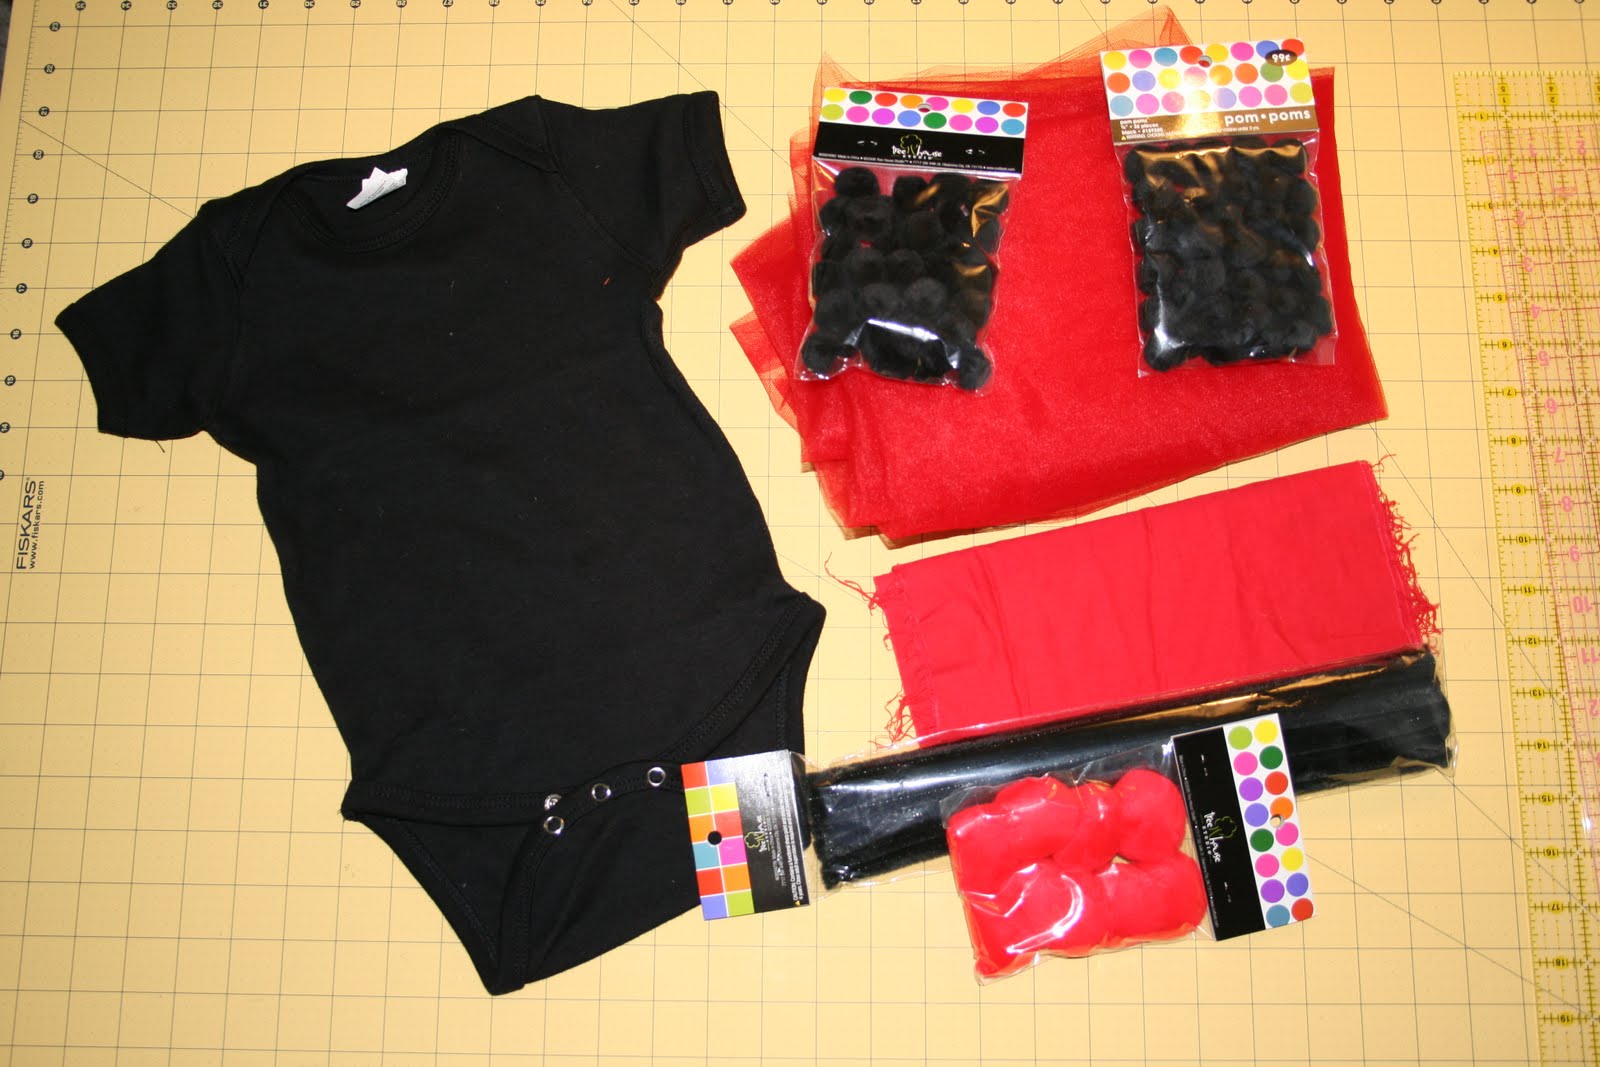
Make Me Pretty Designs on Etsy.com for about a month now. I have even had the fabric to make the Puff Sleeve Sundress. Alas, I have been too intimidated to try it out. The only dress (actually only clothing, ever) I have made is the Pillowcase Dress, which is super easy. Well, this weekend I finally decided it was time to stop staring at the fabric and put it to use. I printed out my tutorial and got to work.

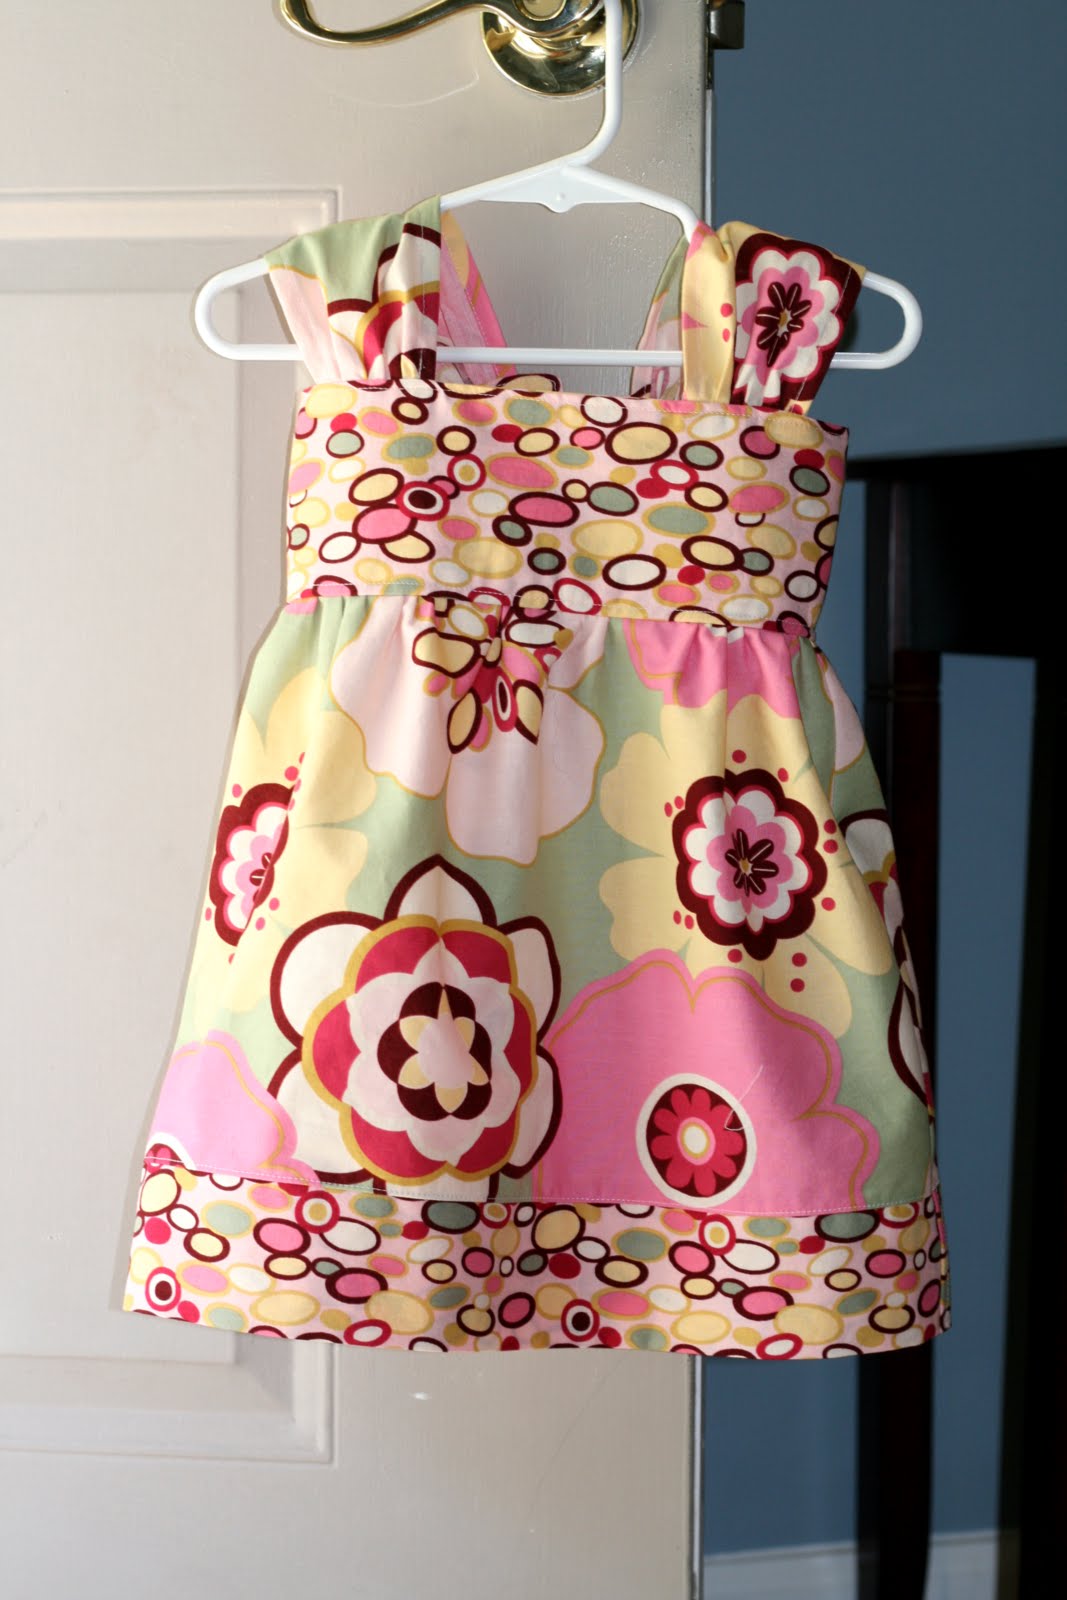
Let me tell you, it was FUN! I really enjoyed the entire process. It is very satisfying to start with a piece of fabric and end with an adorable dress.

(FRONT)

(BACK)

I should tell you that I did have a few problems arise while making this dress. First being the measurements didn't quite work for my daughters size. She isn't your average chunky toddler. I didn't notice the issue until the top was completed and it was HUGE! There was no way I was going to start over so I just made a new seam between the front and back of the sleeve to take it in. It's not perfect, but it works and looks fine to me. The skirt of the dress also proved to be rather large, so before I attached it to the top I just trimmed it down to the size I wanted and made a new side seam. I noted all this on my pattern for future use.

I also found it a bit difficult to get on and off D (mostly off). In the tutorial it shows you how to make a slit in the skirt, to match up with the slit on the back of the top, to help with this. I didn't think it was necessary, as it said it was optional, but I will definitely do it for future dresses.

None of these issues discouraged me. Truth be told, I'm glad these issues did arise because they were a learning experience that will help me with future projects. I am also feeling more and more comfortable with my sewing machine as I accomplish each project. (BTW: I love the overlock foot on my machine!!!)

I'll leave you with some pics of D in the dress. She wasn't particularly happy to be modeling. It was right before lunch and she was getting fussy.


Isn't she ADORABLE!?!?!


Making


Thursday, September 9, 2010

New Camera Strap

Nothing is more satisfying than starting and completing a project in an hour. It is especially great for Nap-Time crafting. When I woke up this morning I knew I wanted to sew, but I didn't want anything too time consuming. So I browsed through my ever expanding list of sewing tutorials and decided on a new camera strap. I dug through my small (micro) stash of fabric and found some scraps perfect for this project. I love not having to run to the store! I followed this tutorial and whipped out my camera strap in no time. What do you think?


I did have to make a few alterations. Instead of the fusible fleece, I used batting. And I didn't line the pocket with Fusible Interfacing. Didn't have these things on hand so I made due. I really like the way it turned out. I especially love the lens cap pocket. So practical. I will definitely be making more of these. A girl has to have her accessories!


**I added this project to Sew & Tell Fridays**

Monday, September 6, 2010

Wyatt's Quilt

I have had this quilt finished and photographed since last week. I have been dying to post it on my blog, but had to wait until after Wyatt's first birthday party. (It was a secret!) I am so very excited about this quilt because it is the first one I have completed on my own. I have made one other quilt with the help of a good friend, Aimi, and a couple of quilt tops, but never have I made a complete quilt. I really love the way it turned out.

I was a little nervous to Machine Quilt, but I found it super easy with my machine. I simply stitched in the ditch around the blocks and then used painters tape to help guide the diagonals. I would have tried Free Motion Quilting (stippling), but that is going to take some more practice before I commit it to a quilt. I also thought the simple lines were more 'Boyish'. 

My only issue with the finished product is the pieced strip along the back. It is a bit wonky. Next time I will try to center it better with the quilt top. But for my first quilt, I am very pleased. 


Friday, September 3, 2010

Hair Bow Holder

My daughter has quite a collection of hair bows that is constantly growing. (I will make one to match an outfit if needed.) They are usually kept in one of her dresser drawers with other odds and ends, not very organized or easy to get to. As some of you may already know, I tend to be obsessively organized. As you can imagine, the "junk" drawer was no longer working for me. It was driving me CRAZY. I needed to find an alternate site for the bows, and fast.

I have seen Hair Bow Holders online and at many a craft fairs. I always thought "I can make that", but never got around to it. Well I finally have. Yesterday, I dug around in my craft stash and found everything I needed to make a simply Hair Bow Holder.

(Other items used: hot glue gun, jewelry wire and bead for antennas)

This was super easy to whip up. Basically all I did was paint the wooden butterfly, let dry, and then attach the ribbon to the back with a hot glue gun. Any wooden piece can be used, such as a letter.


As you can see with the finished project, I will definitely need to make multiples to keep up with her bow collection. All in all, I am happy with the end results.

Wednesday, September 1, 2010

My New Craft Blog

Most of you reading this probably follow my other blog about my beautiful daughter. Don't worry, I still plan on posting to Delilah's Journey, I just needed another place to post about all the wonderful crafts I am doing. I don't want to clog up her blog with pictures of my on going projects. So, I started this new blog.

I'm not sure, exactly, how I want this blog to flow. I want this to be a place for me to talk about my many creative projects that I am up to or plan to do. Basically a journal of my addiction to all things crafty. Right now my main concentrations are in sewing, quilting, and digital scrapbooking. I have many projects in the works that I can't wait to share with you. But for today's post I am going to share some photos of my Crafting Space. I am very lucky to have a large area that is mostly mine. My husband does have his main computer on one of the tables, and Delilah has plenty of room to play and explore. (She loves my basket of scrap fabric.) It's a really nice area for all of us to be doing our own thing but still be together.


My favorite part of the whole room is my sewing machine. I spent a couple of weeks researching and looking at machines and this was my first and final choice. She is a dream come true. As a beginner in everything sewing, she makes it so easy. I want to name her, but am unsure of what. I could call her Laura Ashley, seeing how that is her model name, but that seems to easy. Maybe L.A.? Any suggestions. I plan to post some pics of some WIPs (work in progresses) and finished projects soon. Until then, happy crafting!